Table of Contents
Ever feel like your body needs a reset button? Maybe you've heard whispers about the magic of green detox juices, but you're not quite sure where to start. It's not about some crazy diet, it's about giving your body a boost with fantastic, fresh ingredients. Think of it like a super-powered smoothie, but with a focus on the good stuff. We’re talking about a simple, delicious way to pack in nutrients and feel amazing. In this guide, we'll explore the world of "green detox juice ingredients", breaking down exactly what goes into these vibrant drinks and why they're so good for you. We’ll cover everything from the classic leafy greens to the zesty fruits that make these juices sing. We’ll also walk through the easy steps to make your own, talk juicer tech and how to store your juice. Get ready to discover how simple it is to add a burst of health to your day with the power of green detox juice. By the end of this, you'll be a green juice guru, ready to whip up your own delicious concoctions.
The Power of Green Detox Juice Ingredients
The Power of Green Detox Juice Ingredients
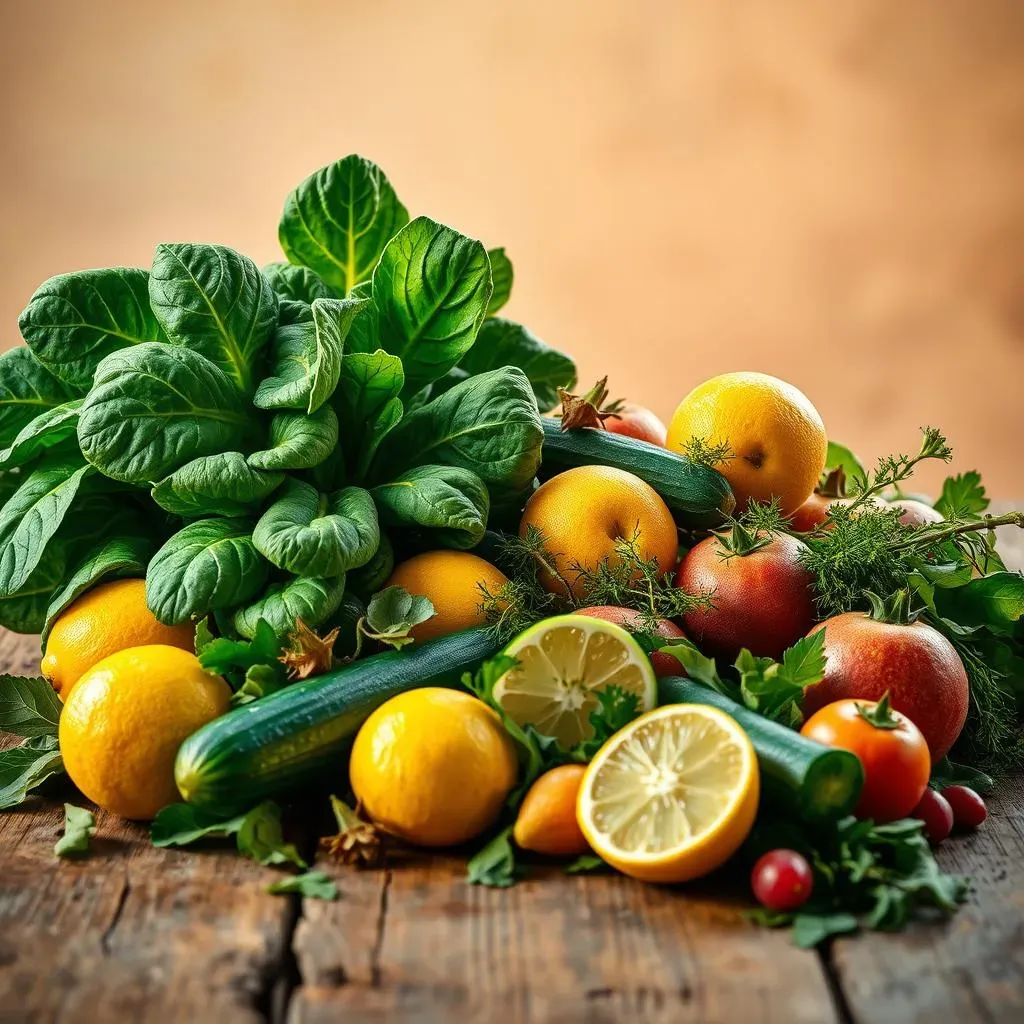
so you're wondering why everyone's suddenly obsessed with green juice? It's not just a trend; it's about flooding your body with good stuff. Think of it like this: imagine your body is a car, and green juice is like the high-octane fuel it needs to run smoothly. We're talking about ingredients packed with vitamins, minerals, and antioxidants – the superheroes of the health world. Spinach, for example, is like the iron man of leafy greens, giving you a boost of energy and helping your blood do its job. Then you've got cucumber, the hydrating hero, keeping you refreshed and flushing out the bad stuff. And don't forget lemon, the zesty sidekick, loaded with vitamin C that helps your immune system fight off the villains. These aren't just random veggies thrown together; they're a powerhouse team working together to make you feel your best. I mean, who wouldn't want a daily dose of that?
How to Make Your Own Green Detox Juice: StepbyStep
How to Make Your Own Green Detox Juice: StepbyStep
Prep Your Produce Like a Pro
Alright, so you're ready to make some magic happen? First things first, gather your green detox juice ingredients. Think spinach, cucumber, green apples, a lemon, and a knob of ginger. Wash everything really well, because nobody wants dirt in their drink. Now, chop them up into smaller pieces. This isn't just for fun, it's to help your juicer do its job without getting clogged. For the lemon, you can peel it if you don't like the bitterness, but I usually leave the peel on for extra flavor and nutrients. Remember, the smaller the pieces, the easier it is for the juicer to extract all that good stuff. It’s like preparing for a tiny veggie Olympics, and you want them to be ready to compete.
Juicing Time!
now for the fun part: the actual juicing. If you have a juicer, awesome! Just feed the chopped veggies and fruits into the machine, one by one, and watch the green goodness flow. If you don’t have a juicer, don't sweat it. You can use a blender instead, just add a bit of water to help it all blend smoothly. Once everything is blended, you’ll need to strain it using a cheesecloth or nut milk bag. It's like making a potion, you're separating the liquid magic from the pulp. Be patient, let it drip slowly, and you'll get a pure, vibrant green juice. I remember the first time I tried this, it felt like I was a scientist in my own kitchen.
Ingredient | Why It's Great |
|---|---|
Spinach | Iron boost, energy powerhouse |
Cucumber | Hydration hero, flushes out toxins |
Green Apple | Natural sweetness, fiber |
Lemon | Vitamin C, immune support |
Ginger | Anti-inflammatory, digestive aid |
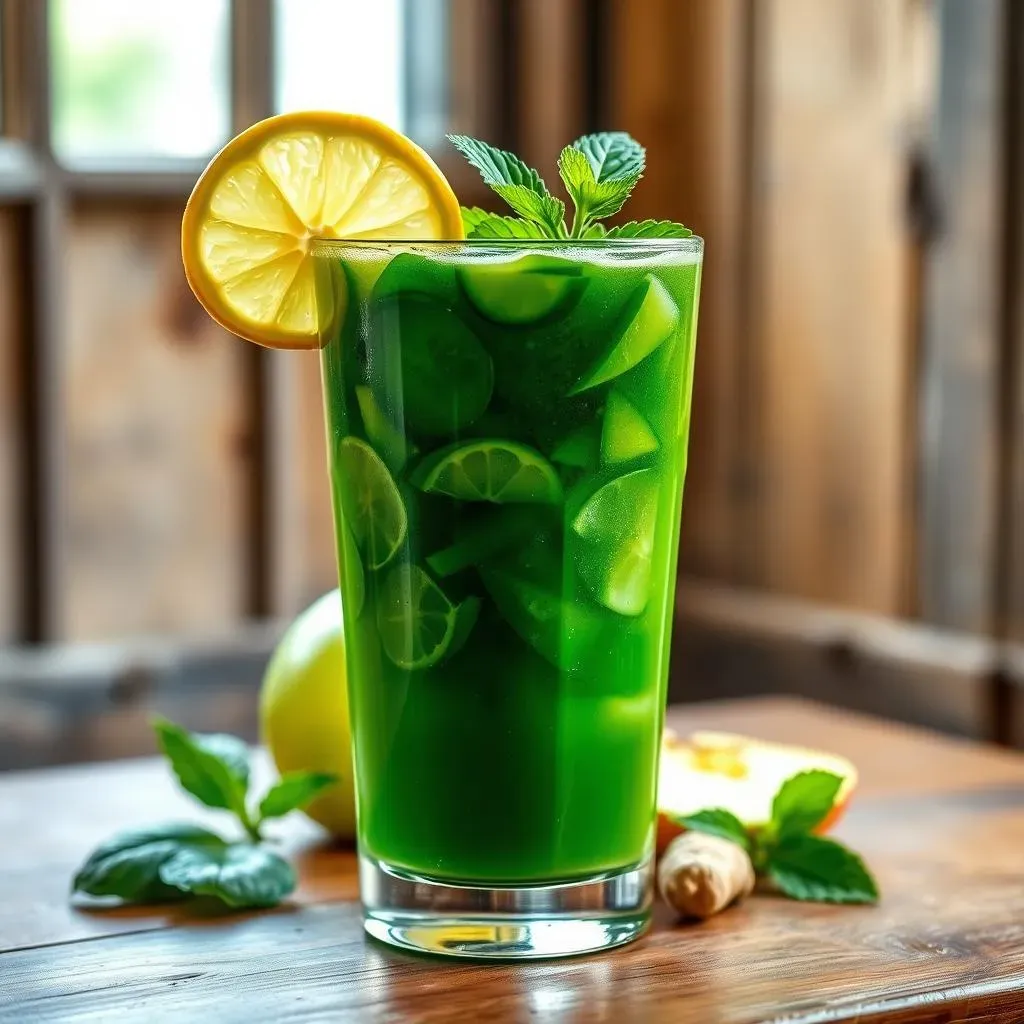
Sip and Savor
Finally, the moment you've been waiting for – time to enjoy your homemade green detox juice! Pour it into a glass and admire that vibrant green color, it's like a health elixir. Take a sip, and feel the freshness burst in your mouth. If you find it too strong, you can always add a little water or more apple to sweeten it up. This isn’t just about drinking a juice, it’s about taking a moment for yourself and giving your body the nutrients it craves. It’s the perfect way to kickstart your day, or a refreshing pick-me-up in the afternoon. It’s like a little pat on the back for your body, telling it, "Hey, I got you."
Choosing the Right Juicer for Your Green Detox Juice

Choosing the Right Juicer for Your Green Detox Juice
Centrifugal vs. Cold-Press: The Juicer Showdown
so you're ready to commit to the green juice life, but now you're staring at a wall of juicers, right? It can feel overwhelming, but let's break it down. You've basically got two main types: centrifugal and cold-press (also called masticating). Centrifugal juicers are like the speed demons of the juicing world. They work by spinning a blade super fast to chop up your fruits and veggies, then using centrifugal force to separate the juice. They're usually cheaper and faster, which is great if you're in a hurry. But they can be a bit noisy and sometimes produce juice that's not quite as nutrient-rich, because the fast spinning can create some heat.
Now, cold-press juicers are the slow and steady champs. They use an auger (a fancy word for a screw) to crush and squeeze the juice out of your produce. This process is much gentler, which means less heat and oxidation, resulting in a juice that's packed with more vitamins and enzymes. Cold-press juicers tend to be a bit pricier and take longer, but many think the quality of the juice is worth it. It’s like the difference between a quick sprint and a long, mindful walk – both get you there, but one is a little more gentle and thorough.
Which Juicer is Right for You?
So, how do you choose? Well, it really depends on your priorities. If you're on a budget and you need your juice fix fast, a centrifugal juicer might be your best bet. They're great for beginners and can handle most fruits and veggies with ease. But if you're serious about getting the most nutrients out of your juice and you don't mind spending a bit more, a cold-press juicer is the way to go. They're also better for leafy greens, which can sometimes be a challenge for centrifugal juicers. Think of it like choosing between a fast food burger and a gourmet meal – both will fill you up, but one is definitely better for you in the long run. I remember debating this myself, and I went with a cold-press because I wanted all those extra nutrients, but honestly, the best juicer is the one you'll actually use!
Don't forget, you can always start with a simple blender and a strainer, it's not the most efficient, but it's a great way to get started and see if you enjoy the process before making the investment in a new machine. It's all about finding what fits your budget and your lifestyle.
Juicer Type | Pros | Cons |
|---|---|---|
Centrifugal | Faster, cheaper, good for beginners | Noisier, less nutrient-rich juice, not great for leafy greens |
Cold-Press (Masticating) | More nutrient-rich juice, better for leafy greens, quieter | Slower, more expensive |
Customizing and Storing Your Green Detox Juice Ingredients

Customizing and Storing Your Green Detox Juice Ingredients
Spice It Up: Flavor Customization
so you've mastered the basic green detox juice, but now you're thinking, "How can I make this even more 'me'?" Well, the good news is, the possibilities are endless! Don't be afraid to experiment with different fruits and veggies to find your perfect blend. If you're craving something sweeter, try adding a bit more green apple or a pear. For a zesty kick, toss in a bit of lime or a slice of orange. Want to make it a bit more earthy? Try adding a handful of parsley or some cilantro. I once added a tiny bit of jalapeño for a spicy twist, it was surprisingly good, but maybe start with a small amount! It’s like being a mad scientist in the kitchen, but instead of creating monsters, you're creating delicious, healthy concoctions. Remember, the best part of this is to make it your own, add what you like, and remove what you don't.
And it's not just about the fruits and veggies, you can also play with the spices and herbs. A small piece of ginger is great for adding a bit of warmth and aiding digestion, while a pinch of turmeric can give your juice an extra boost of anti-inflammatory power. Sometimes I’ll add a few mint leaves for an extra refreshing flavour, especially on a hot day. The key is to start small and taste as you go. It’s like painting a picture, you add colors bit by bit until you get the perfect composition.
Make-Ahead Magic: Storing Your Juice
So, you've juiced up a storm and now you're wondering, "Can I make this ahead of time?" The short answer is yes, but with a few caveats. Freshly made juice is always the best, but if you need to save some for later, there are some smart ways to do it. First off, always store your juice in an airtight glass container. Plastic can sometimes leach chemicals into your juice, and we don't want that. Fill the container as much as you can, leaving as little empty space as possible to reduce oxidation. Oxidation is what makes your juice lose its vibrant color and some of its nutrients, it’s like the juice is slowly rusting!
Ideally, you should drink your juice within 24 hours. After that, it might start to lose some of its nutritional value and the taste might change a bit, it’s not the end of the world, but it’s not as fresh. If you need to store it for a bit longer, try adding a squeeze of lemon juice, it acts as a natural preservative. And always keep it in the fridge, the colder the better. It's like keeping your veggies in the crisper drawer, you want to keep them fresh and ready to go. I like to think of it as giving my juice a little spa day, keeping it chilled and protected.
Customization Idea | Why It Works |
|---|---|
Pear | Adds sweetness and fiber |
Lime | Adds a zesty kick |
Cilantro | Adds an earthy flavor |
Turmeric | Boosts anti-inflammatory power |
Mint | Adds a refreshing flavor |
Freezing for the Future
If you're really into meal prepping, you can also freeze your green detox juice. Pour it into ice cube trays, and once they're frozen solid, transfer them to a freezer bag. This way, you can just grab a few cubes whenever you need a quick juice fix. It's perfect for when you're running short on time but still want to get your daily dose of greens. The texture might change slightly when it thaws, it might not be as smooth as fresh juice, but it's still a great way to preserve it. Just let the cubes thaw in the fridge or add them directly to a blender with a bit of water. It’s like having a little health insurance in your freezer, always ready when you need it. It’s a lifesaver for those days when you don't have time to juice fresh.
Remember, the goal is to make this a sustainable habit, so find what works best for you and your lifestyle. Whether you like to customize your juice with different flavors or freeze it for later, the important thing is that you're making a healthy choice for yourself. It's all about finding what brings you joy and makes you feel good, and if it involves a delicious, homemade green juice, then even better!
Wrapping Up Your Green Detox Juice Journey
So, there you have it – a complete guide to the world of green detox juice ingredients! We’ve covered the power-packed ingredients, how to whip up your own batch, choosing the right juicer, and even some tips for storing your green goodness. Remember, making a green juice isn't about perfection, it's about adding more whole, plant-based foods to your day. Don't be afraid to experiment with different flavors and find what you love. Whether you're a juicing pro or just starting out, incorporating these vibrant drinks into your routine can be a fantastic way to nourish your body and feel your best. Cheers to your health!